
honey_pot
MongoDB 설치 및 Node.js에 mongoose로 연결하기 본문
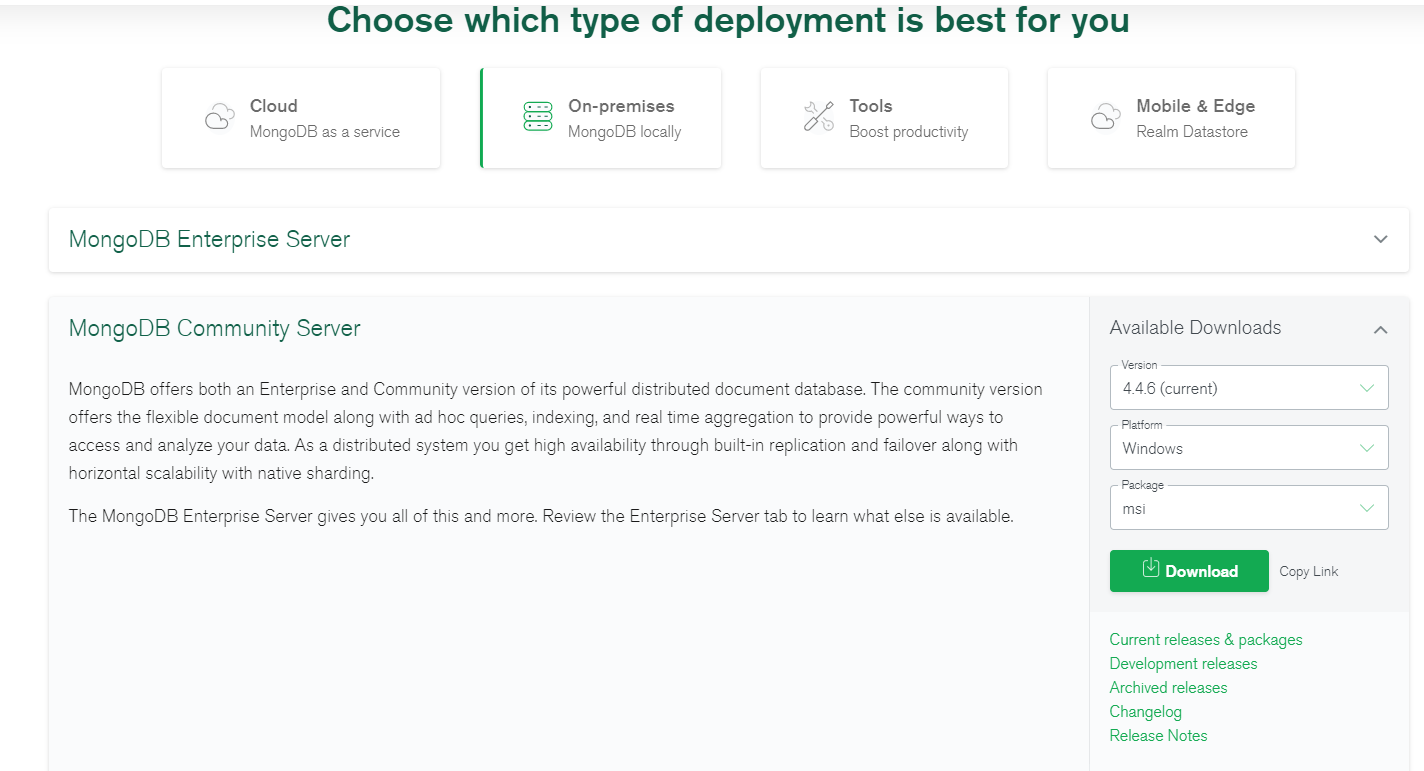
mongoDB 홈페이지에 들어가자마자 start free부터 sign up까지 cloud를 이용해보라고 몰아치는데 여기선 무시한다.
(cf . aws를 이용하려면 가입해서 auth key를 받아야한다.)
mongoDB download center에서 윈도우용 설치 페이지로 이동한다.
✔설치는 zip보다 msi 로 하는 것이 편하다.
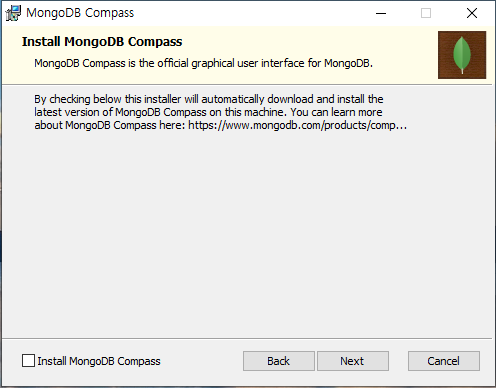
다운받은 msi 인스톨러에서 compass 버전 - Compass 설치 체크 해제

MongoDB가 설치되었다면 C드라이브에 들어가 data 폴더 생성 - 그 안에 db 폴더를 생성한다.
❗ 터미널을 이용해서 path configuration
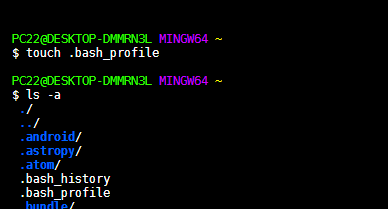
$ cd ~ 입력 후 루트로 이동한다.
$ touch .bash_profile : .bash_profile 생성
$ vim .bash_profile : .bash_profile 를 수정한다.
$ i : insert 글쓰기
alias mongod = "/c/program\ files/MongoDB/server/4.4/bin/mongod.exe"
alias mongo = "/c/program\ files/MongoDB/server/4.4/bin/mongo.exe"
path는 Mongodb가 설치된 경로를 입력하고, 밑줄 친 부분은 설치된 mongodb 의 버전을 입력한다.
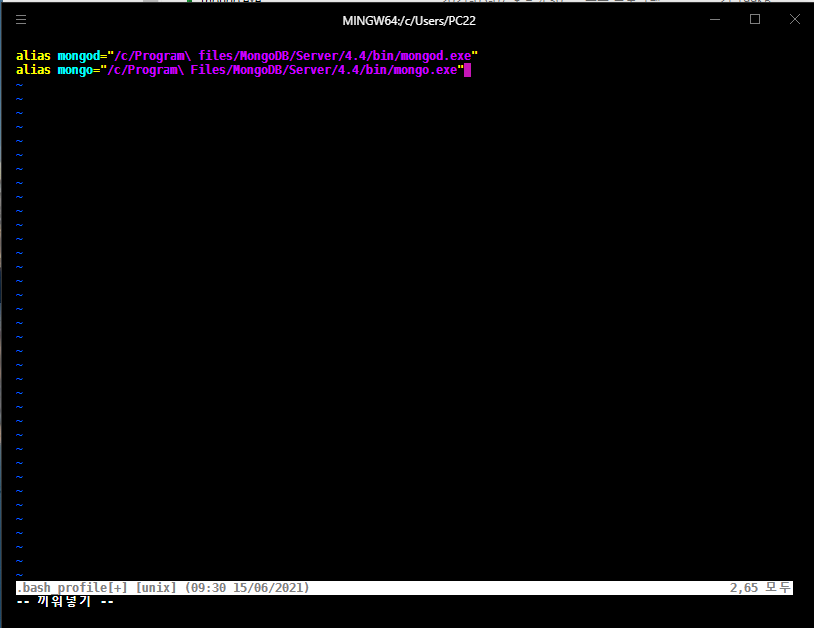
$ :wq! ➡➡ 수정한 내용을 저장하고 vim을 종료한다.
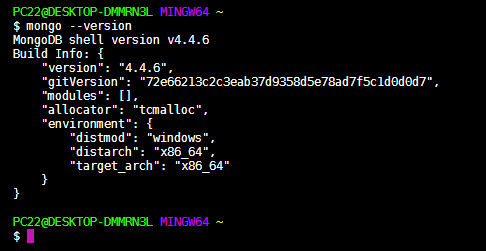
$ mongo --version : 설치된 mongdb shell 버전 확인
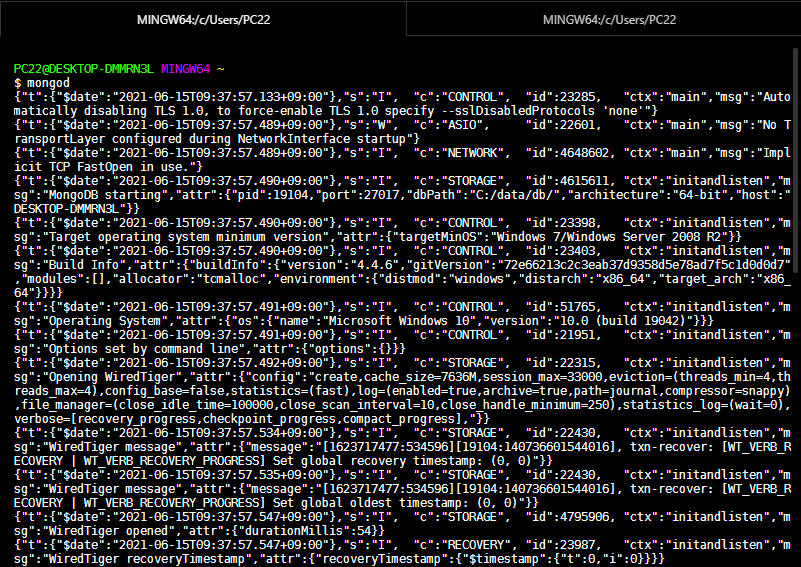
$ mongod : .bash_profile에 지정한 shortcut alias로 mongod.exe 실행 ( db를 실행하고 shell을 실행해야 함)
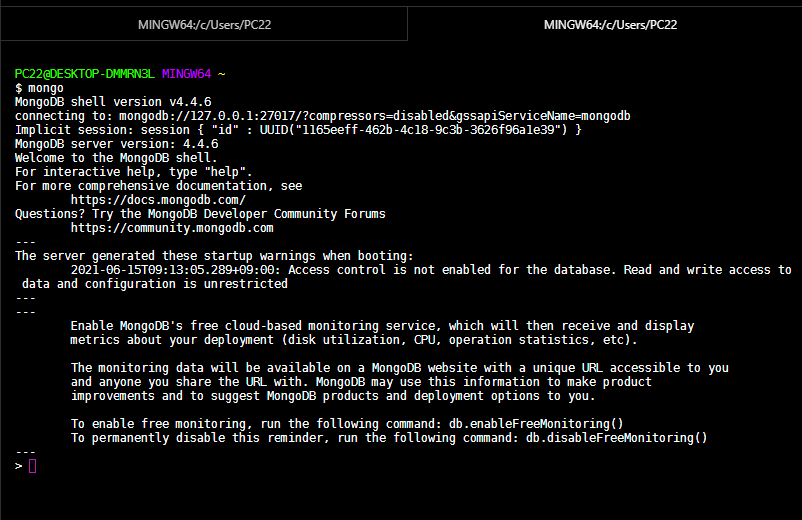
$ mongo : .bash_profile에 지정한 shortcut alias로 mongo.exe 실행 (shell)
❗ 환경 변수 설정을 이용해서 path configuration
제어판 - 시스템 환경 변수 편집 - 고급 - 환경 변수
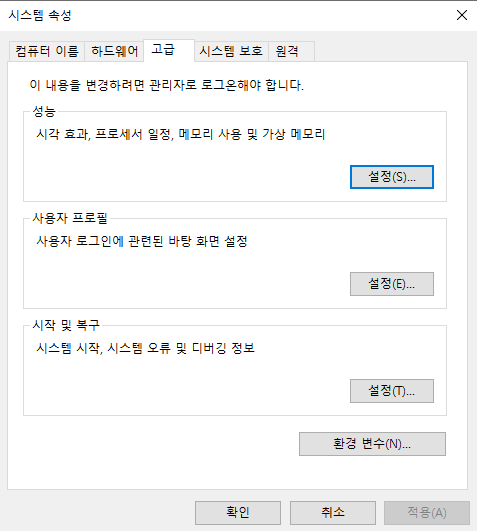
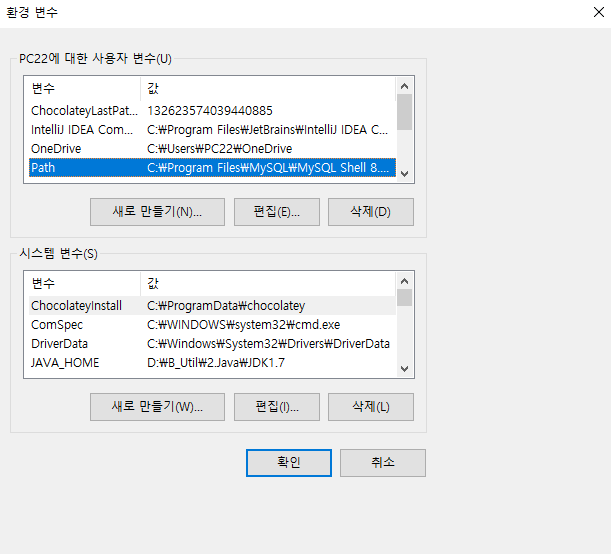
사용자 변수 - Path 클릭 - 편집

새로 만들기 클릭 후 mongoDB 의 bin 폴더의 경로를 입력한다.
C:\Program Files\MongoDB\Server\4.4\bin
확인하고 저장하면 path configuration 끝
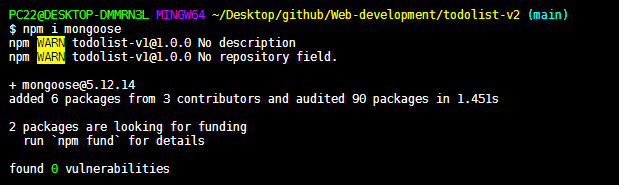
mongoose ODM 이용
$ npm i mongoose : mongoose 모듈 설치
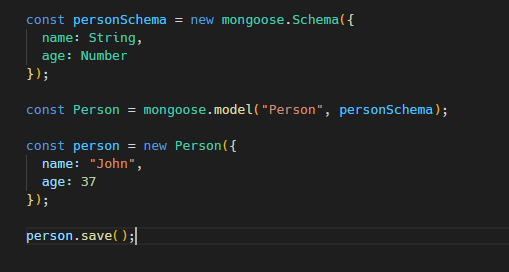
mongoosejs.com 에서 제공되는 사용법 예시이다.
const mongoose = require('mongoose');
mongoose.connect('mongodb://localhost:27017/test', {useNewUrlParser: true, useUnifiedTopology: true});

const Cat = mongoose.model('Cat', { name: String });

const kitty = new Cat({ name: 'Zildjian' });
kitty.save().then(() => console.log('meow'));
mongoose 라이브러리를 끌어와 mongoose 변수에 저장하고
mongodb port인 27017에 연결한다.
mongoose.connect('mongodb://localhost:27017/test', {useNewUrlParser: true, useUnifiedTopology: true});
test : 사용할 or 없다면 생성할 db명 입력
useNewUrlParser
useUnifiedTopology
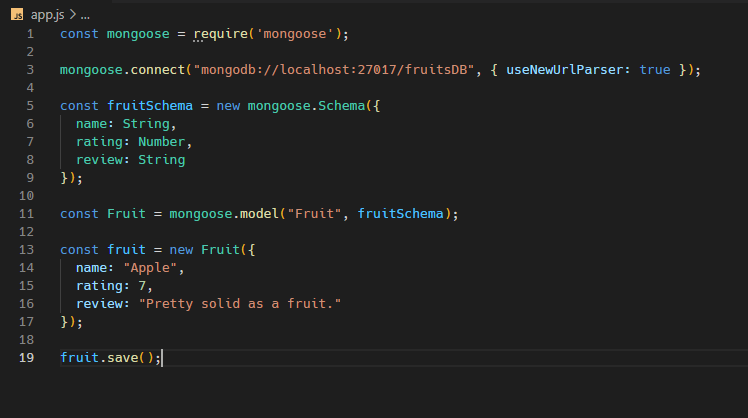
예시에선 바로 model() 을 사용해서 넘어갔지만 Schema를 생성해 type과 여러 option을 추가하는 코드이다.
const fruitSchema = new mongoose.Schema({
  name: {
    type: String,
    required: [true, "Please check your data entry, no name specified!"]
  },
  rating: {
    type: Number,
    min: 1,
    max:10
  },
  review: String
});

const Fruit = mongoose.model("Fruit", fruitSchema);

const fruit = new Fruit({
   rating: 10,
   review: "Peaches are so yummy!"
});

fruit.save();
먼저 Schema() 메서드를 이용하여 스키마 변수를 생성한다.
const Fruit = mongoose.model("Fruit", fruitSchema);
➡➡ model(모델 변수명(collection명이 됨), {Schema명})
🔆 모델 변수명은 단수형(보통 -s가 안 붙는 형태)를 적는다.
➡➡ collection을 매개로 받지 않을 경우 mongoDB가 알아서 utils.toCollectionName 메서드를 이용해 collection 명을 복수형(ploral, 보통 -s 형태)으로 바꾸어 저장한다.
예시 : Person (model) ➡ People (colleciton)

fruit.save(); ➡ 생성한 데이터모델을 저장한다.
kitty.save().then(() => console.log('meow')); ➡➡ 저장한 후 콘솔에 meow를 출력한다.
처음에 연결이 되었는지 확인하는 insert 코드이다.
입력 후 $ node app.js 명령어로 node.js를 실행해야 한다.
(여기서 mongod, mongo shell , node 서버용 3개를 띄움)
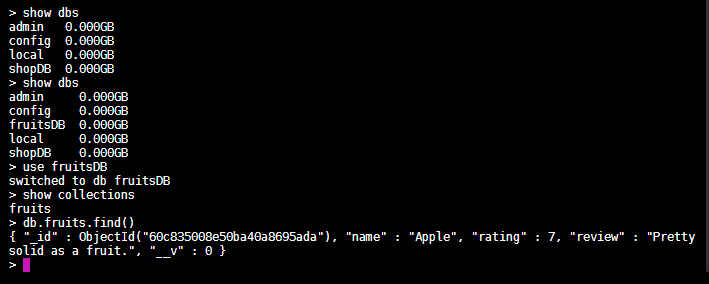
insert 후 결과
$ show dbs : 현재 존재하는 db 리스트를 보여준다. ➡ 처음에 없던 fruitsDB가 생성됨
$ use fruitsDB
$ db.fruits.find() : CRUD의 read 기능 Select * 이다.
이 과정으로 insert 를 수행할 수 있지만 많은 데이터를 넣을 경우 insertMany()를 사용한다.
const kiwi = new Fruit({
name: "kiwi",
rating: 10,
review: "The Best Fruit!"
});
const orange = new Fruit({
name: "Orange",
rating: 4,
review: "Too sour for me"
});
const banana = new Fruit({
name: "Banana",
rating: 3,
review: "Weird texture"
});
Fruit.insertMany([kiwi, orange, banana], function(err){
if(err){
console.log(err);
}else{
console.log("Successfully saved!");
}
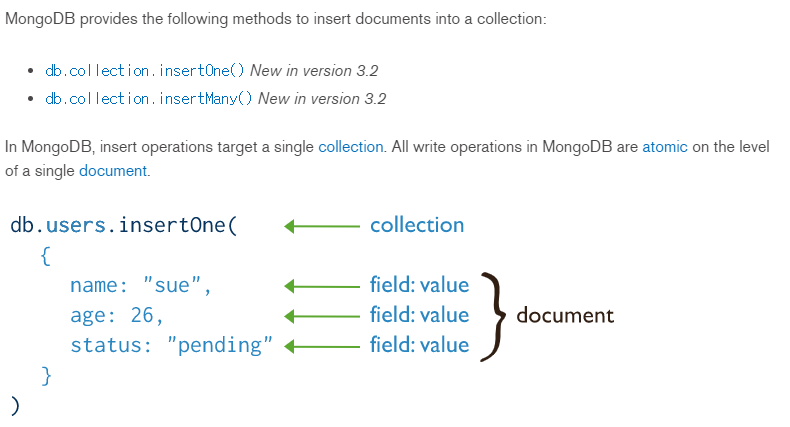
});✨ Creat
insertMany(array, callback)
insert할 데이터 변수를 생성하고 array에 담는다. 성공/실패 시 실행할 코드를 담은 콜백.
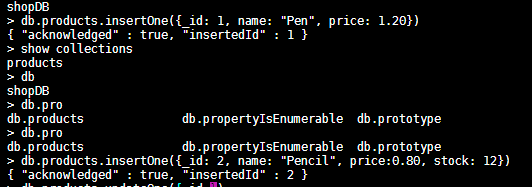
doc에 설명되어 있는 insertOne()의 사용법이다. 터미널에서도 동일하게 사용된다.
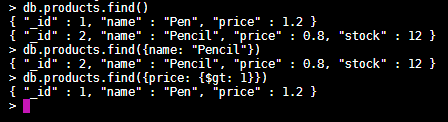
✨ READ
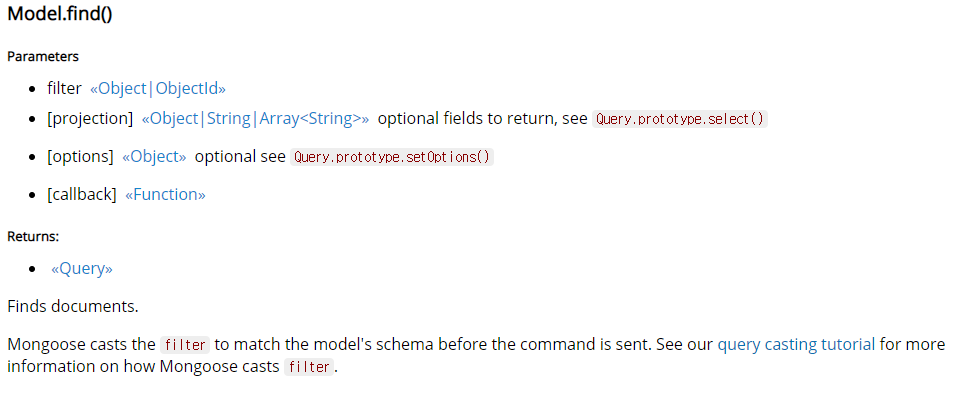
find() 메서드는 select와 같은 기능을 하는데 괄호 안에 query, projection을 입력하지 않을 경우 전체를 읽는다.

query, projection을 입력할 경우 해당하는 데이터만 읽는다.
projection에 관한 내용은 doc을 참조 ➡➡ https://mongoosejs.com/docs/queries.html
✨ UPDATE
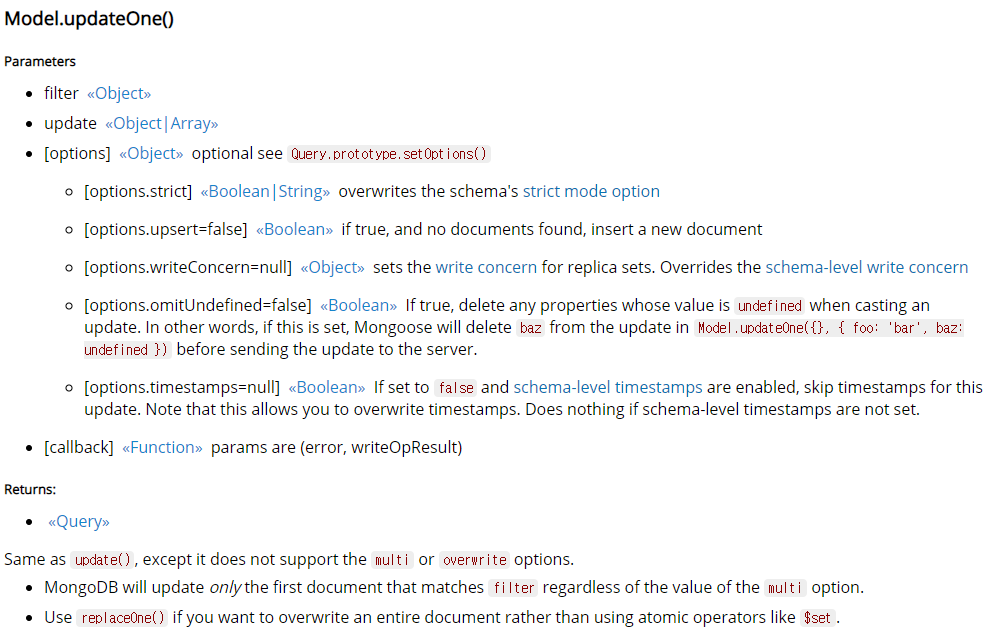

updateOne()을 이용해 하나의 데이터만 업데이트한 결과 ( 터미널)
//update
Fruit.updateOne({_id: "60c837dbab760f46e8f71272"}, {name:"Peach"}, function(err){
  if(err){
    console.log(err);
  }else{
    console.log("successfully updated");
  }
})
updateOne()을 이용해 하나의 데이터만 업데이트 (app.js)
✨ DELETE
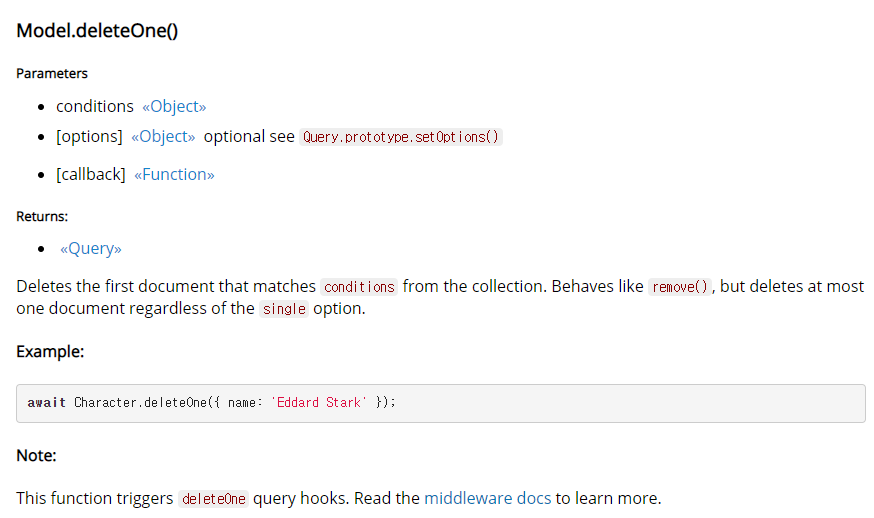

deleteOne() 을 이용해 하나의 데이터만 삭제(터미널)
//delete
Fruit.deleteOne({review:"Pretty."}, function(err){
  if(err){
    console.log(err);
  }else{
    console.log("successfully deleted");
  }
});
deleteOne() 을 이용해 하나의 데이터만 삭제 (app.js)
Fruit.deleteMany({rating: {$gte: 10 }}, function(err){
  if(err){
    console.log(err);
  }else{
    console.log("successfully deleted");
  }
});
deleteMany( {rating 의 값이 10보다 큰 경우}) 로 다수의 데이터 삭제 (app.js)
매우 간단히 정리했으므로
MongoDB Doc(http://mongodb.github.io/node-mongodb-native/3.4/quick-start/quick-start/)
Mongoose Doc(https://mongoosejs.com/docs/)을 꼭 참고할 것.
'Node.js' 카테고리의 다른 글
| [Node.js] Passport, express-session 으로 회원가입, 로그인, 로그아웃 하기 (0) | 2021.06.18 |
|---|---|
| [Node.js] bcrypt 를 이용해 round salting + hashing 하기 (0) | 2021.06.18 |
| [Node.js] MD5 를 이용해 Hash 암호화하기 (0) | 2021.06.18 |
| [Node.js] dotenv를 이용해 암호화하기 (0) | 2021.06.18 |
| [Node.js] Mongoose - encryption 사용해서 비밀번호 암호화하기 (0) | 2021.06.18 |


